Edit a lesson
In this article, you will learn how to:
Edit a lesson in the Exploration Editor
Select your profile photo in the top right corner of any page.
Select Creator Dashboard from the dropdown menu.
Select the lesson you would like to edit. This will open the Exploration Editor.
Edit a card in the Exploration Overview
Select the card from the panel. The card’s content will appear left of the Exploration Overview.
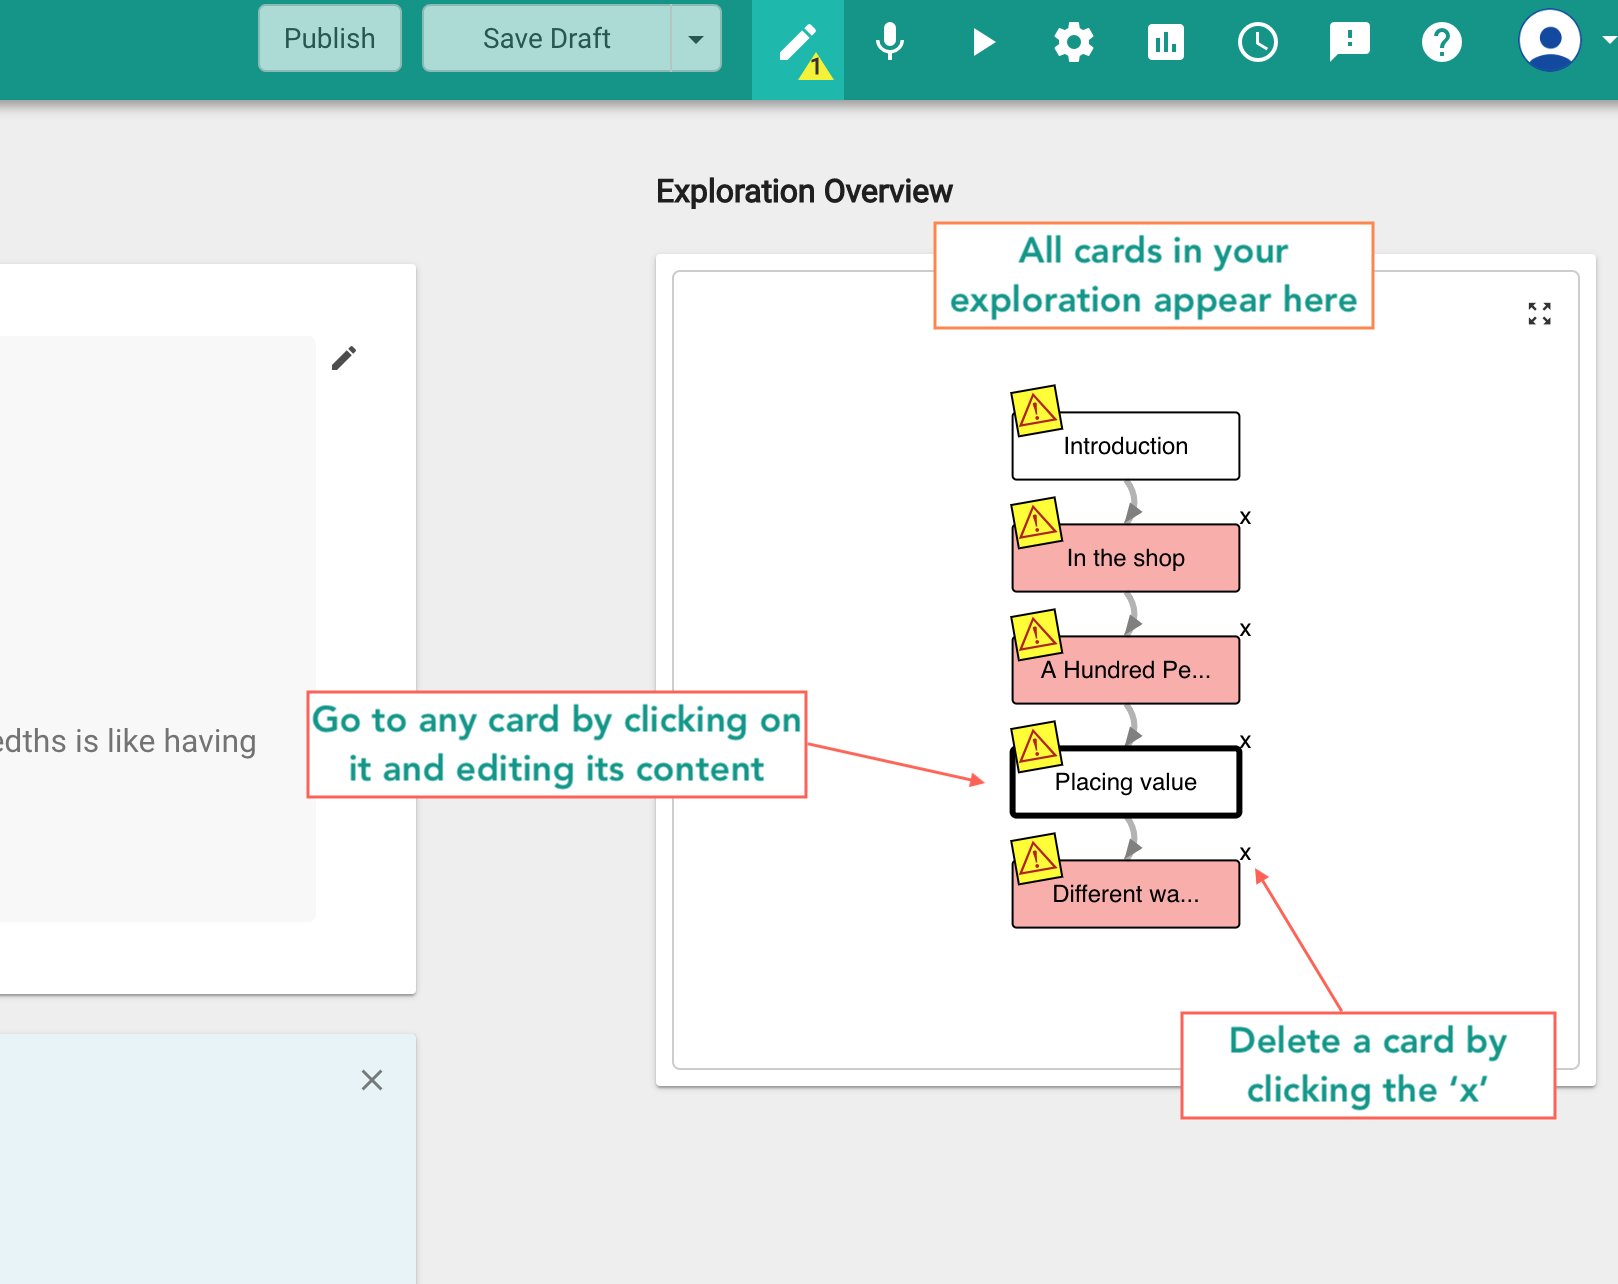
Fig. 1. Use the Exploration Overview to edit cards
Select Edit (pen icon) to edit the content.
Select Save Content.
Fig. 2. Edit icon in the card editor
Save lesson drafts
Every time you save an exploration, Oppia keeps a record of that version. You can revisit, edit, and revert to any previous version you’ve saved.
To save a draft of your exploration:
Select Save Draft in the Exploration Editor.
In the dialog box that appears, enter notes about the changes you’ve made.
Select Save. * Select History to view a list of all saved versions.
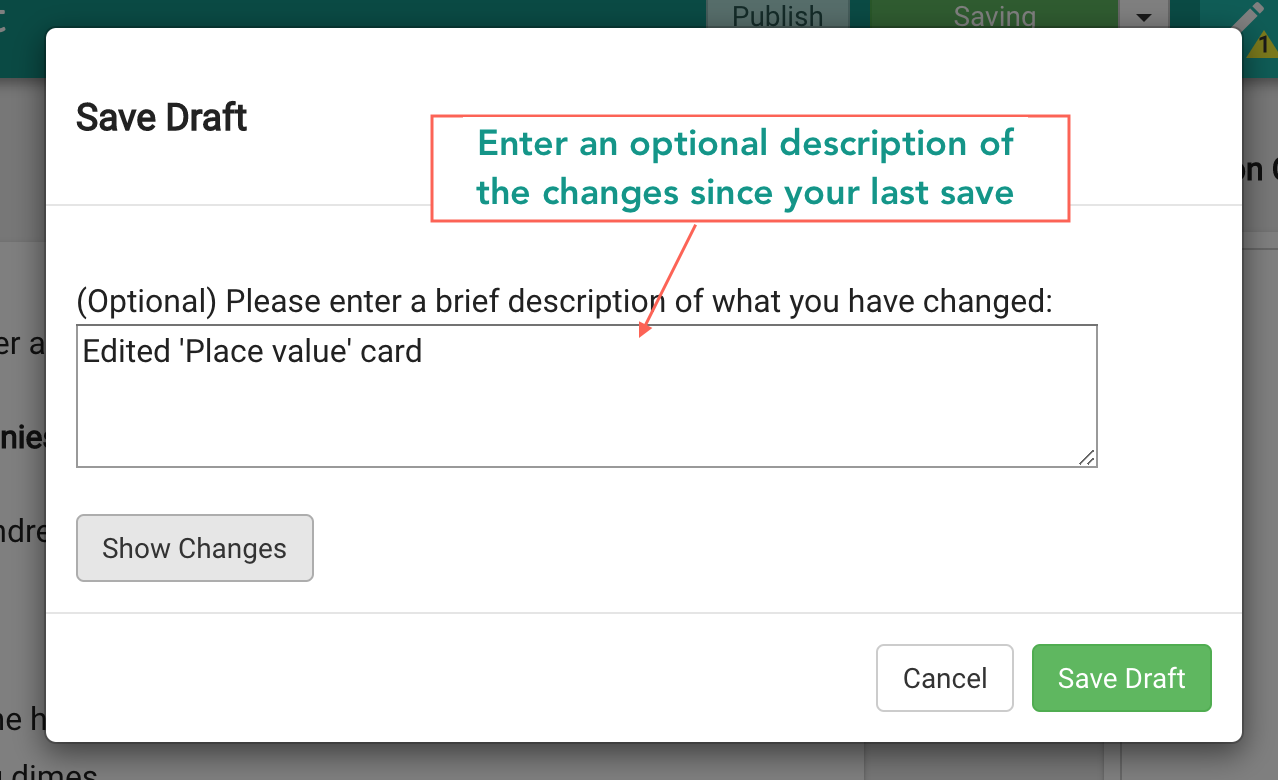
Fig. 3. Save Draft dialog
Revert to a previously saved version
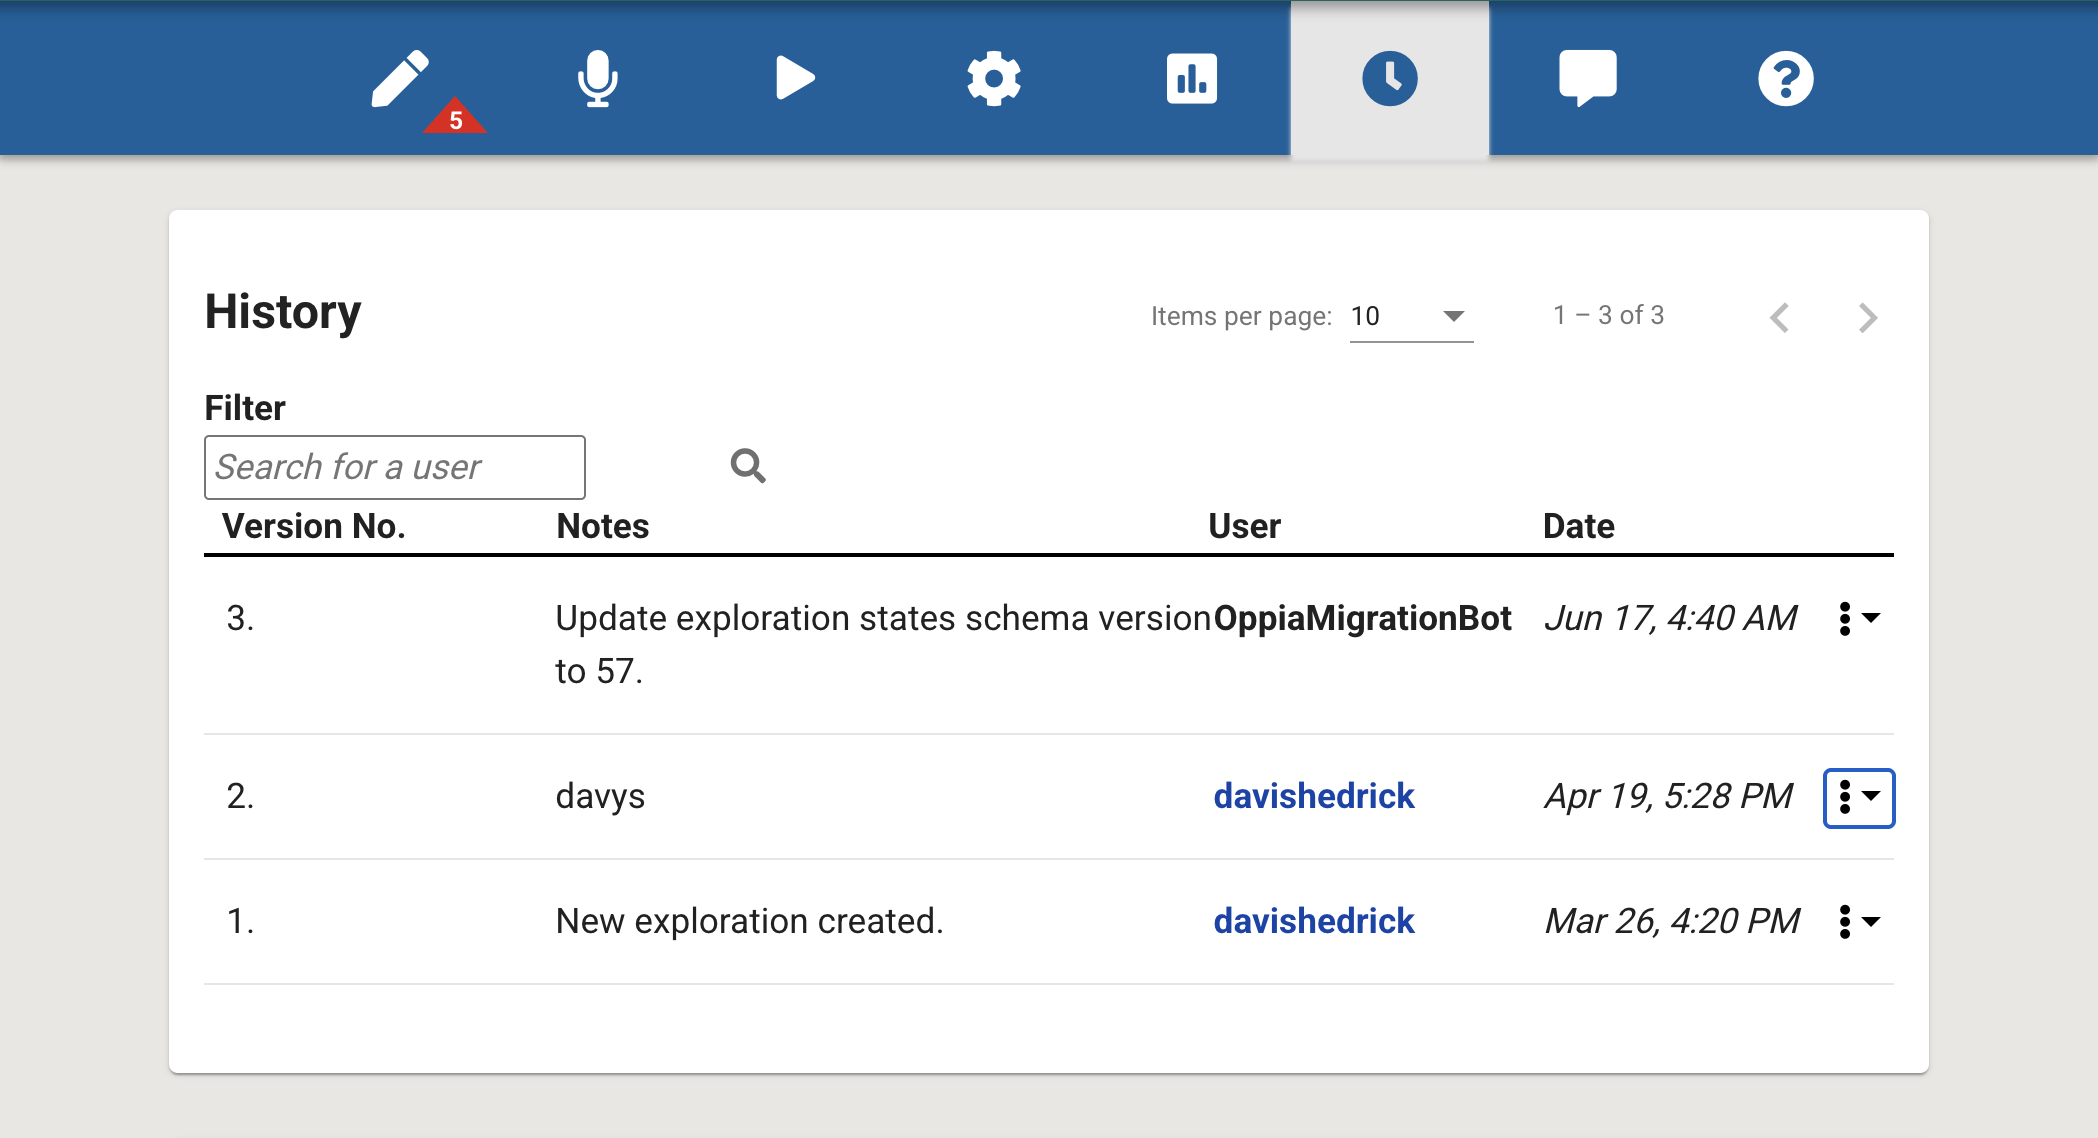
Fig. 4. List of Changes panel includes all saved versions
To return to an earlier version of your exploration:
Select History (the clock icon).
Find the version you want to revert to.
Select … next to that version and select Revert on the dropdown menu.
Note
Reverting to a previous version will discard any unsaved changes in your current draft. If you want the option to return to your current version later, make sure to save your draft before reverting.
Compare selected versions
To compare two versions of the same lesson:
On the History page, scroll to the Compare Revisions panel.
From the Revisions dropdown menu, select the two numbered drafts you would like to compare.
The changes appear in the panel below, along with a legend to help you navigate each change.
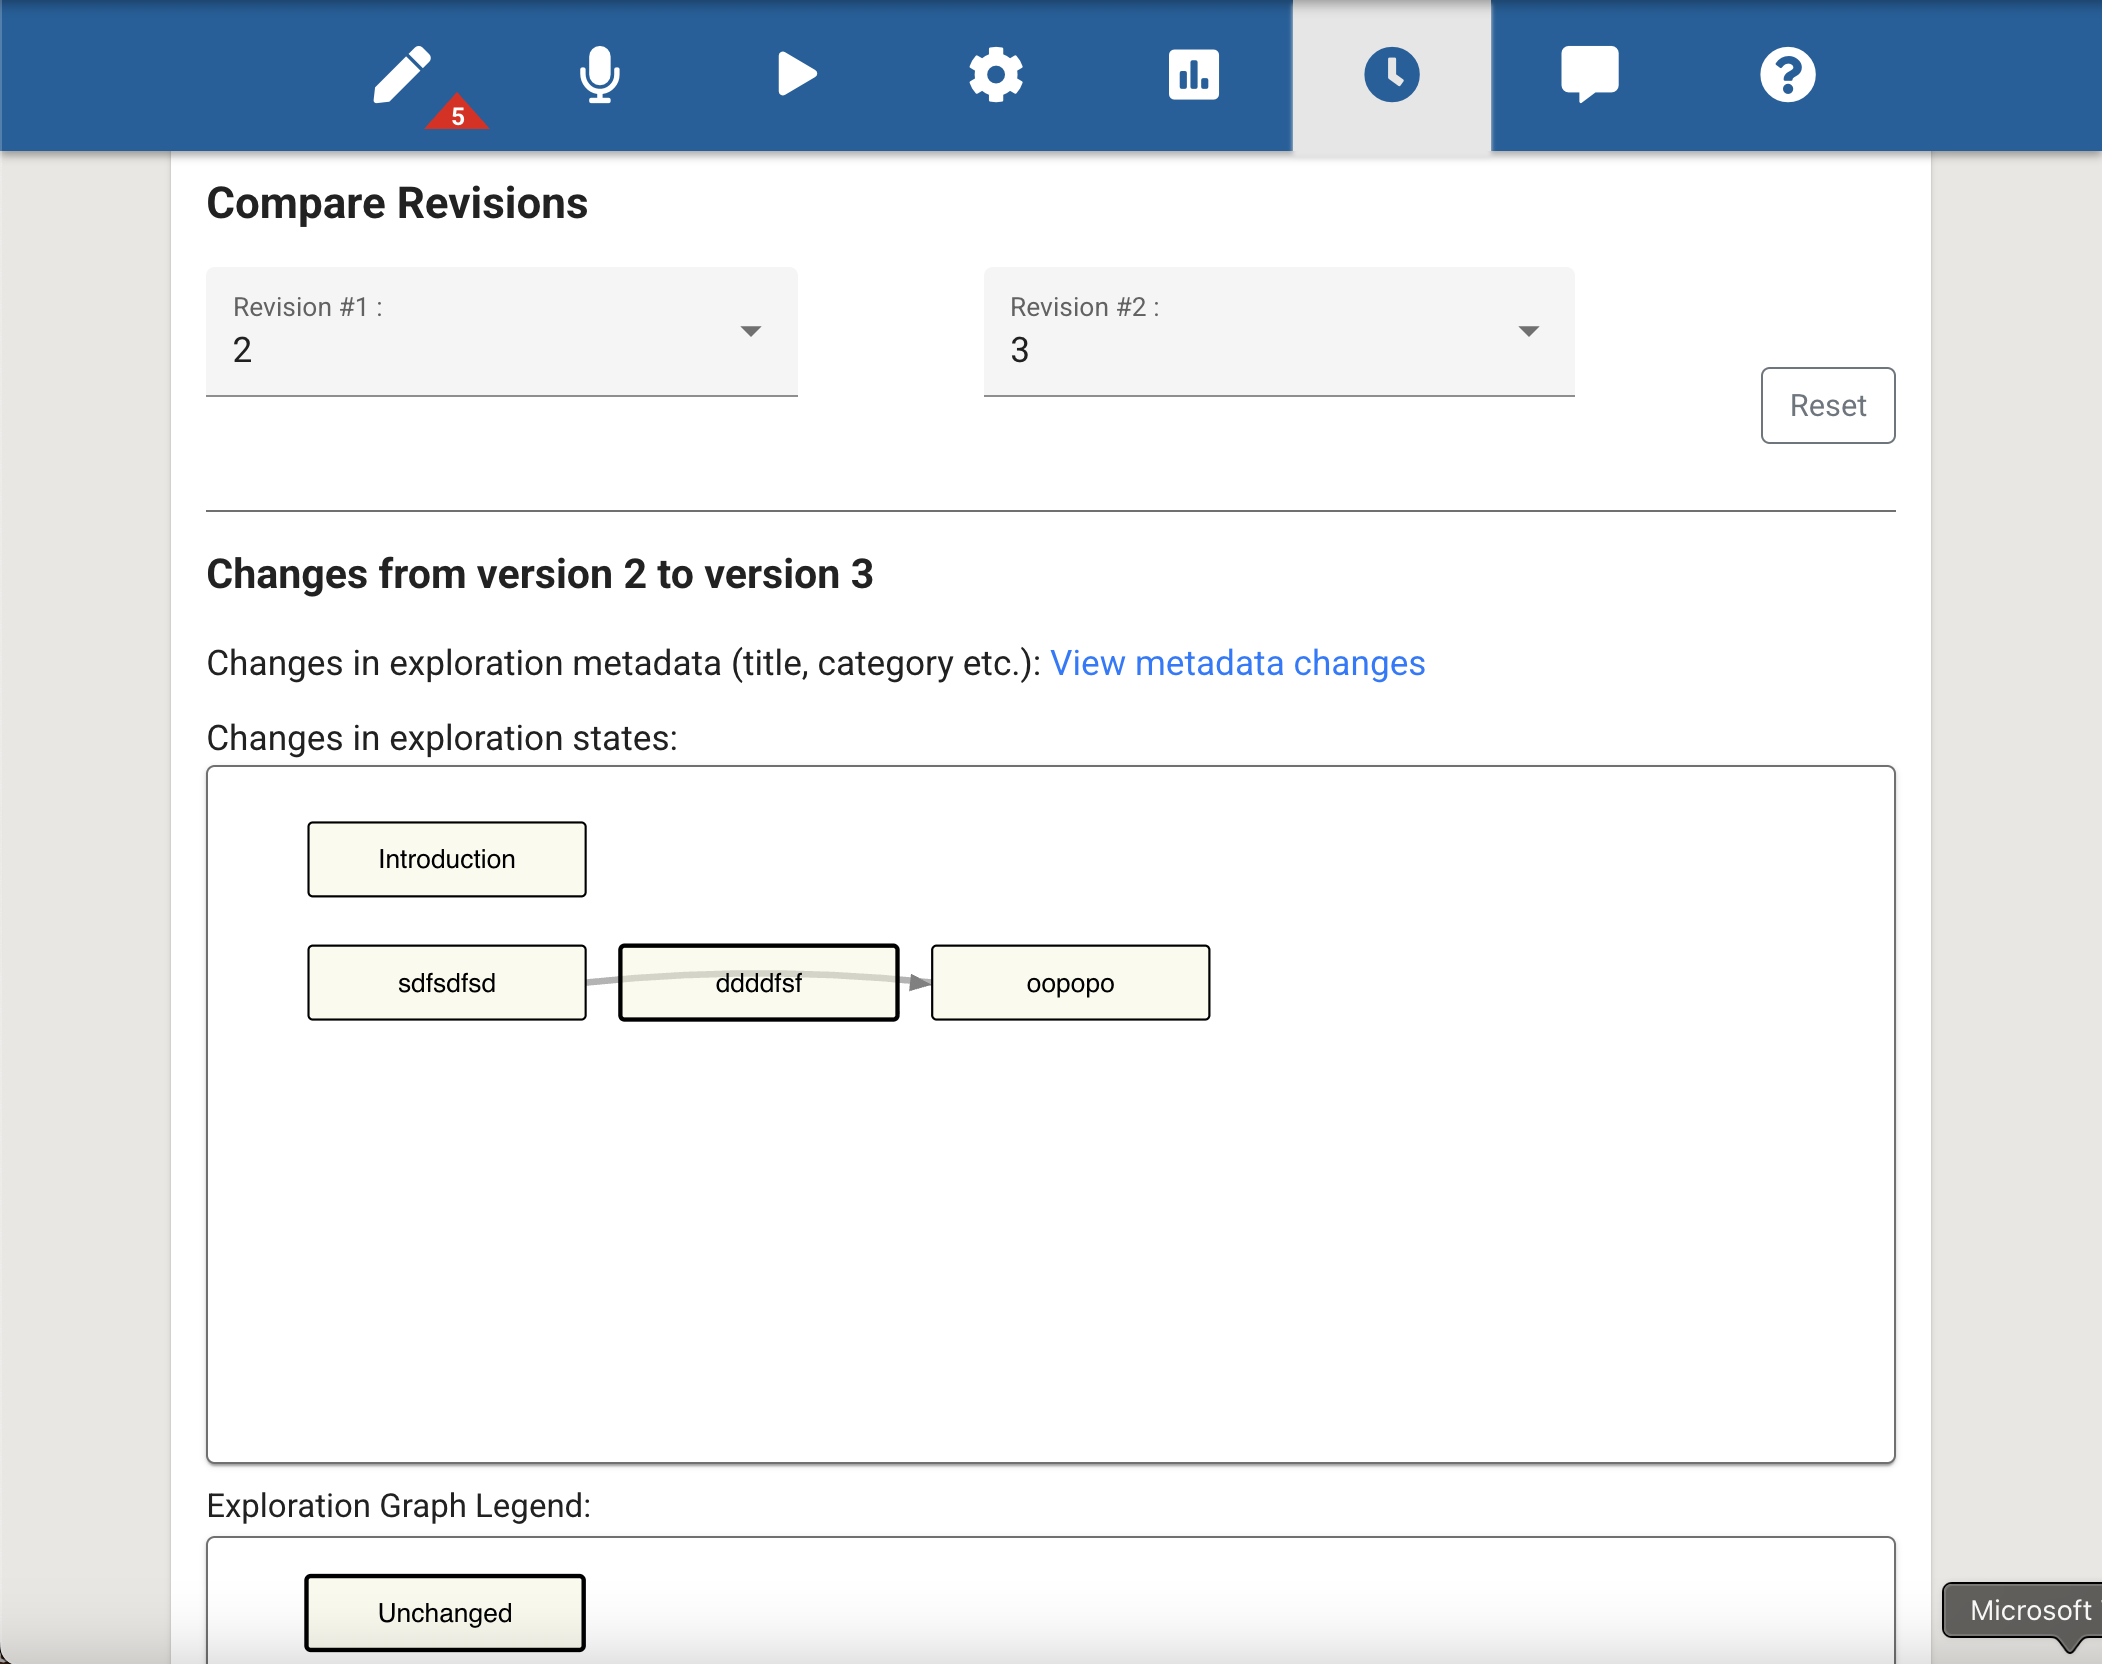
Fig. 5. Compare Revisions panel
Review card errors
If you see a warning icon on a card in the Exploration Overview, there’s an error with the card. This could be an issue with the question, response, or the interaction logic. You must fix the error before publishing the exploration.
To find out what needs to be fixed, hover over the warning icon. A message will appear explaining the issue.
Fig. 6. Warning icons on cards
Delete a card
To delete a card from the exploration, select the x icon in the corner of the card in the Exploration Overview panel.
Fig. 7. Delete a card from an exploration
Delete an exploration
To delete an exploration:
Select Creator Dashboard from your profile, and select the Exploration you want to delete.
Select Settings (gear icon) in the Exploration Editor.
Scroll to the Controls panel at the bottom of the page.
Select Delete Exploration.
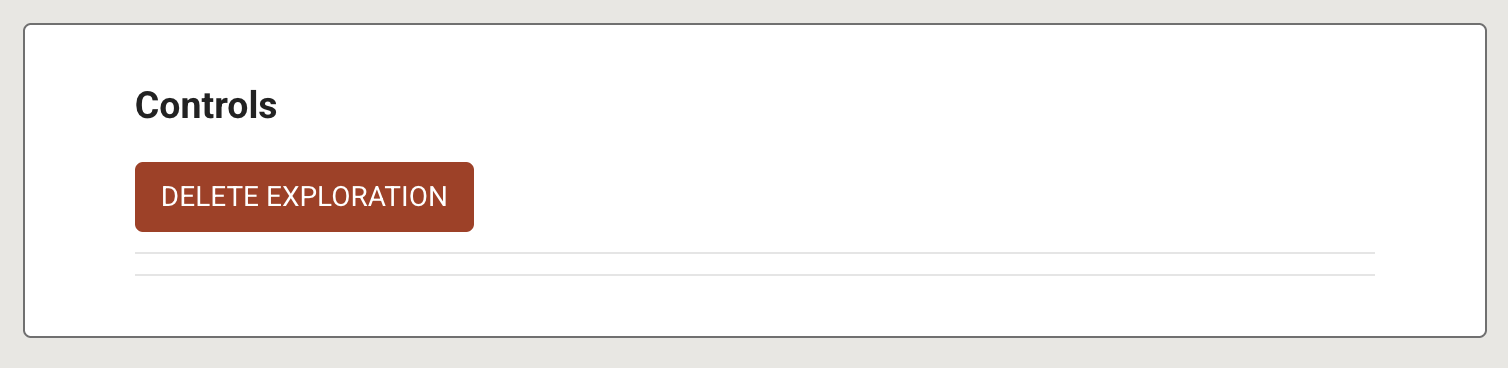
Fig. 7. Controls panel