Learners see the introduction card first when they choose a lesson. It sets the tone for the entire exploration and provides the context for an engaging lesson.
In this article, you will learn how to:
—
Create an Introduction Card
Your introduction should act as a gateway to the learning experience. Follow these steps to create a strong opening:
Introduce your topic. Define what you will teach and what makes the subject unique.
Excite the learner. Use an interesting fact or a short story to spark curiosity.
Ask a leading question. While optional, this encourages active thinking before the lesson officially begins.
Identify required materials. Let the learner know what materials they will need during a lesson.
Example Introduction
“Today, we’re going to learn all about bees! Did you know bees have to visit 2 million flowers to make a single jar of honey? In this topic, we’ll learn what makes them fly, how honey is made, and why they are so important to our planet.”
Once you’ve finished writing your introduction, select Save Content.
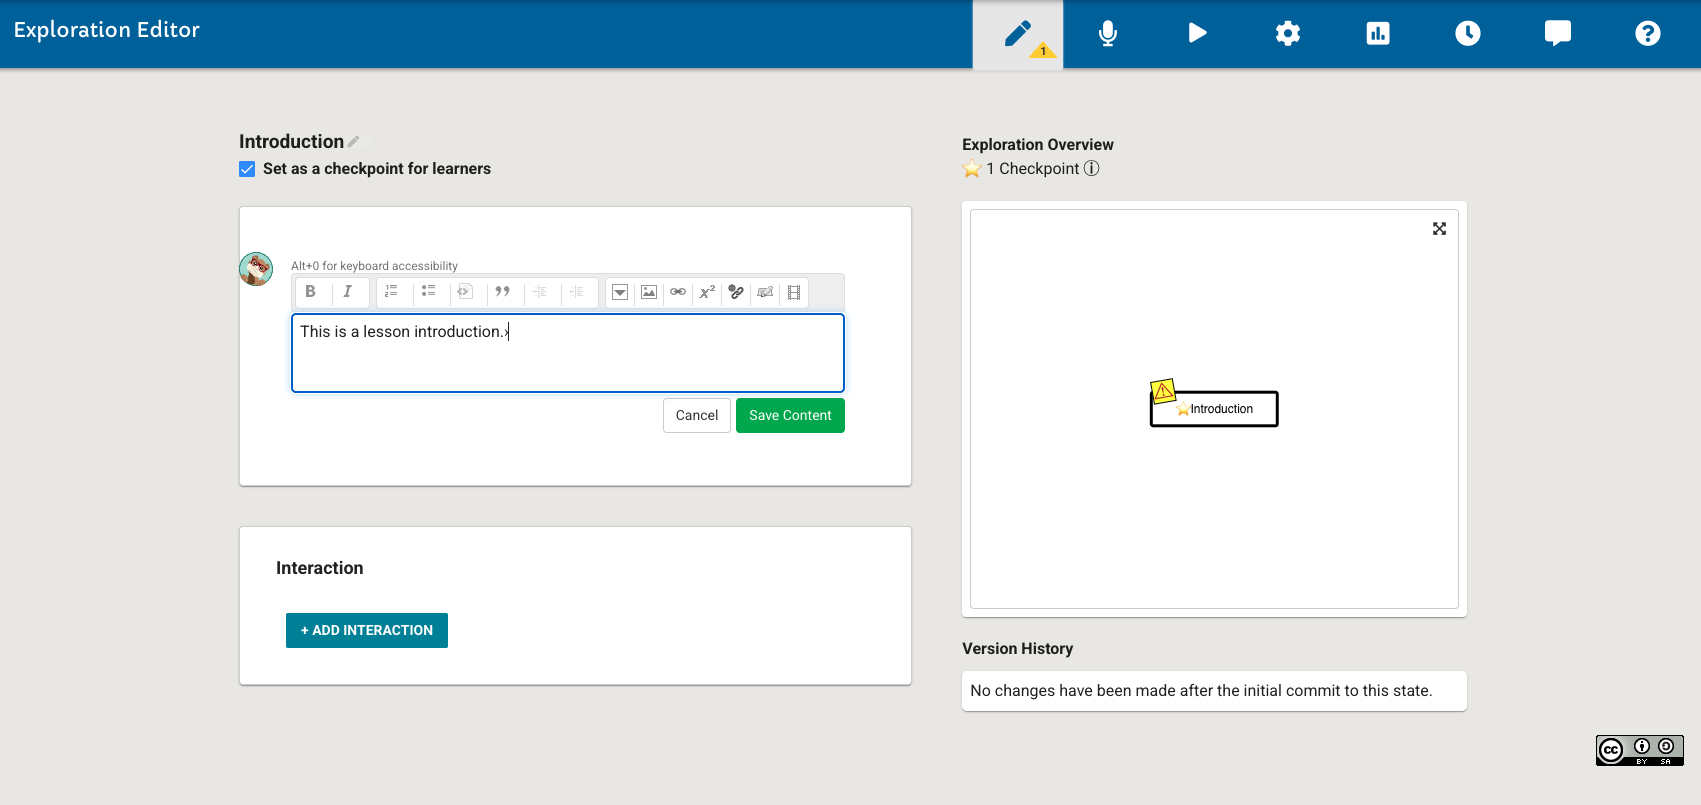
Fig. 1. Exploration Editor Content Panel
—
Add a Continue Button
The Continue Button allows the learners to move forward after the introduction card.
Select +Add Interaction, located below your saved content.
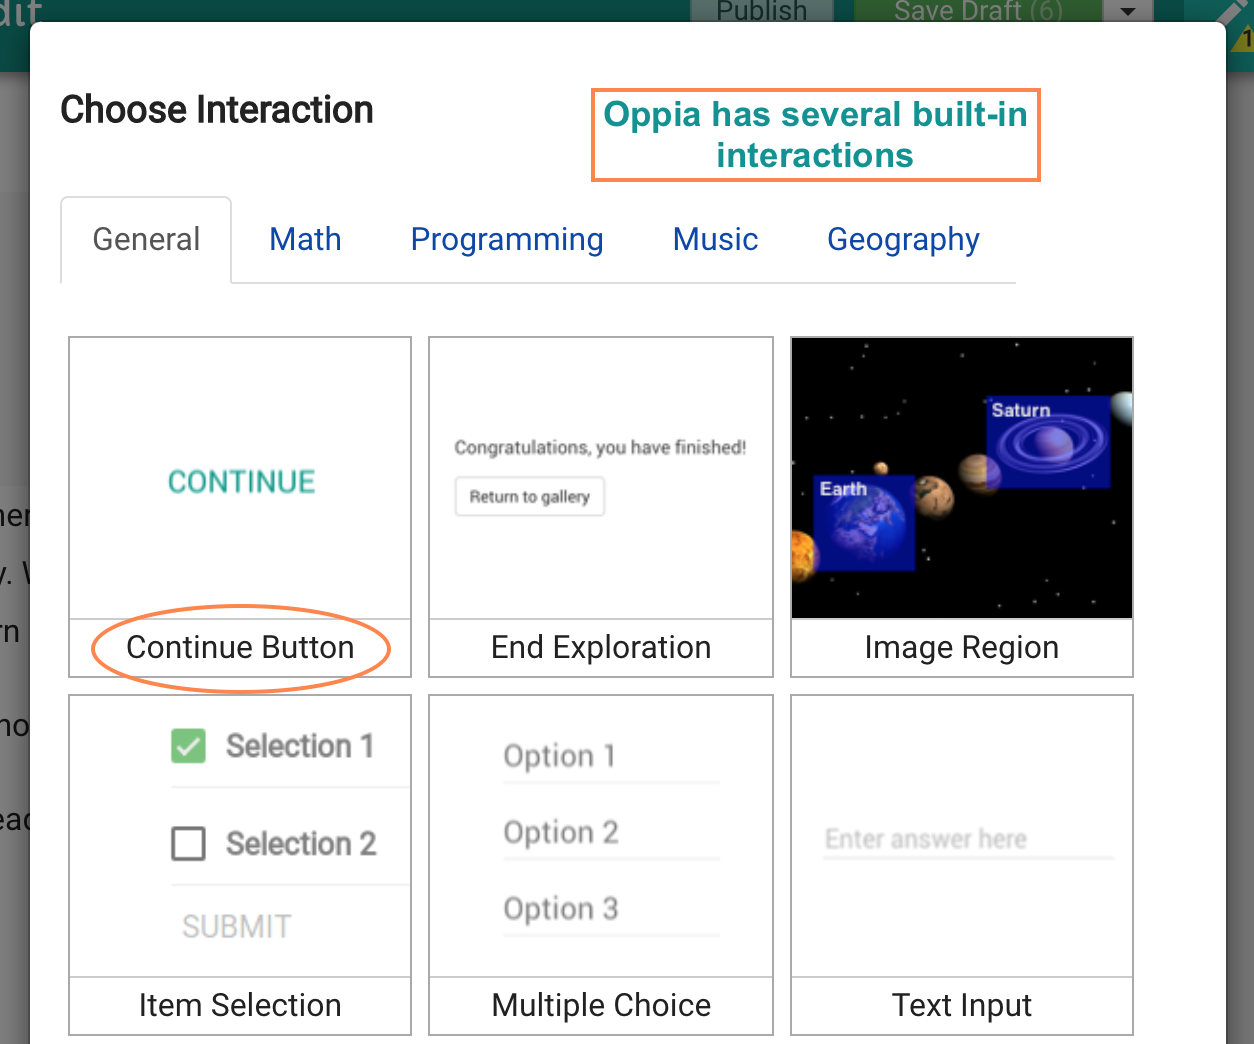
Fig. 2. Adding a Continue Button
Select the Continue button in the Interaction Menu. This interaction acts as a simple bridge to the next card.
Select Save Interaction.
Tip
You can customize the button text (e.g., “Let’s Go!” or “Start Learning”) by editing the text box. If you leave it as “Continue,” the learner will simply see a standard blue button.
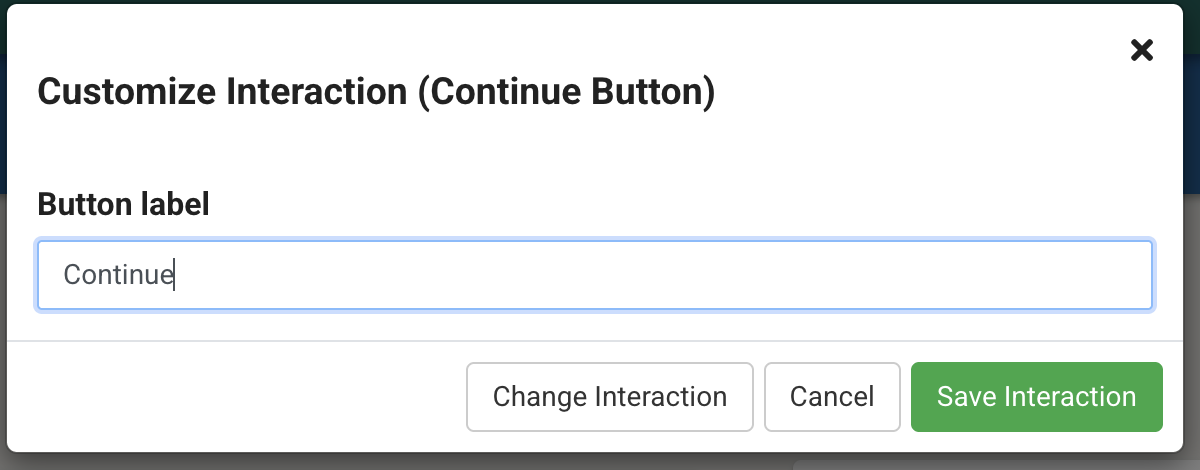
Fig. 3. Continue Button Interaction Preview